
We’re thrilled to announce that our Australian branch is coming soon, bringing our most popular container shelters directly to customers across Australia and New Zealand.
Our official local website is already live at www.toughcover.com.au, where we’ll soon offer local stock, fast delivery, and on-ground support.
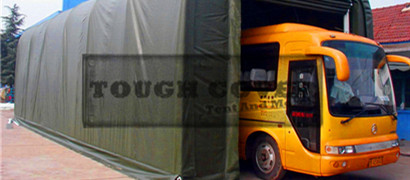
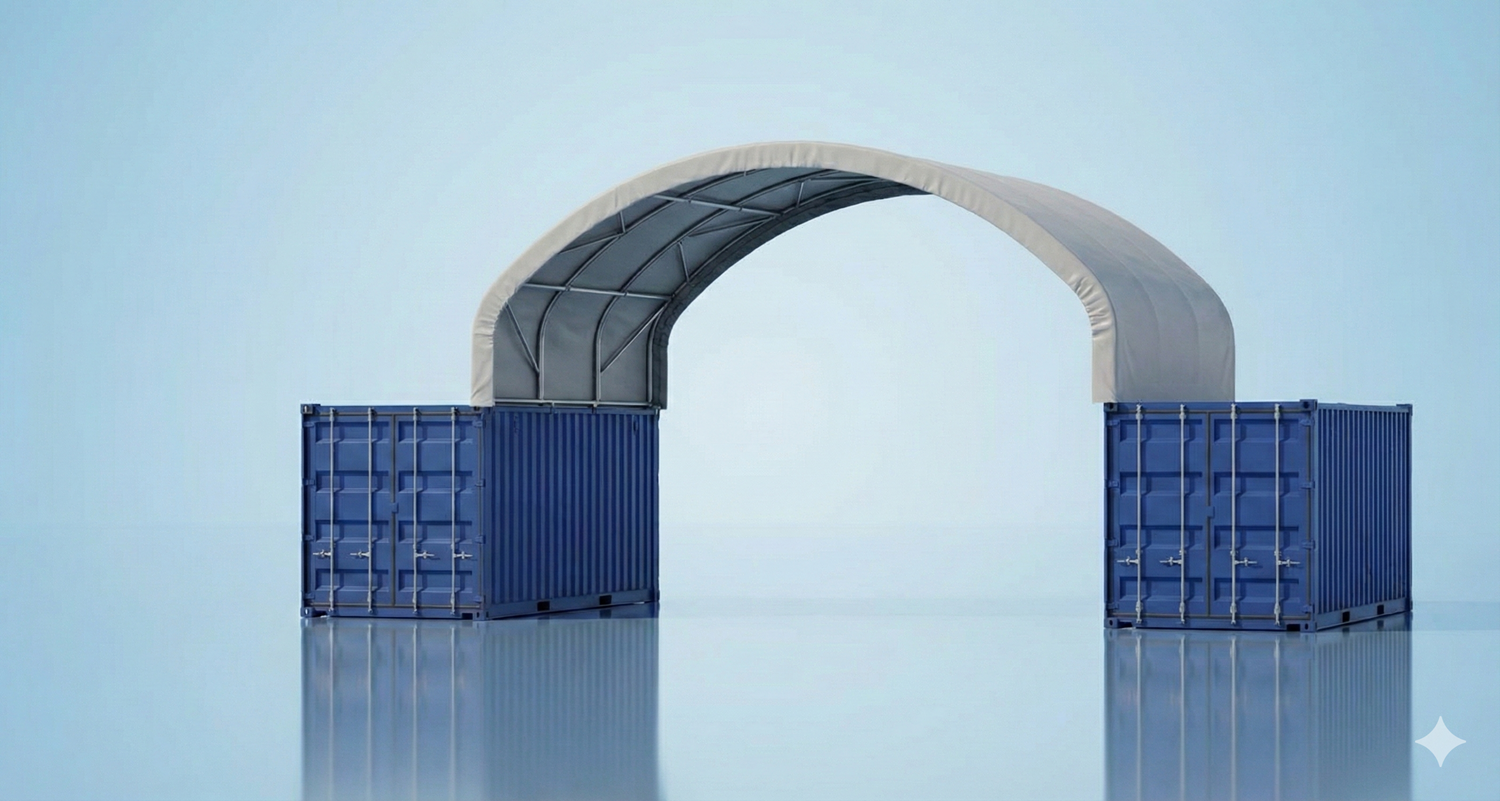
To help our customers better understand the setup process, here’s a complete, step-by-step guide to installing your Toughcover Container Shelter — a structure that’s built for real conditions, and designed for ease.
Step 1: Site Preparation
Start by choosing a level, clear site, preferably with gravel or a concrete slab.
All your shelter components — base plates, arches, purlins, bolts, and cover — arrive neatly packed in a single crate.
Tools needed include spanners, and we recommend using a scissor lift or Elevated Work Platform for safer and easier arch installation.
Need help? Our team offers tool guidance and setup advice anytime.
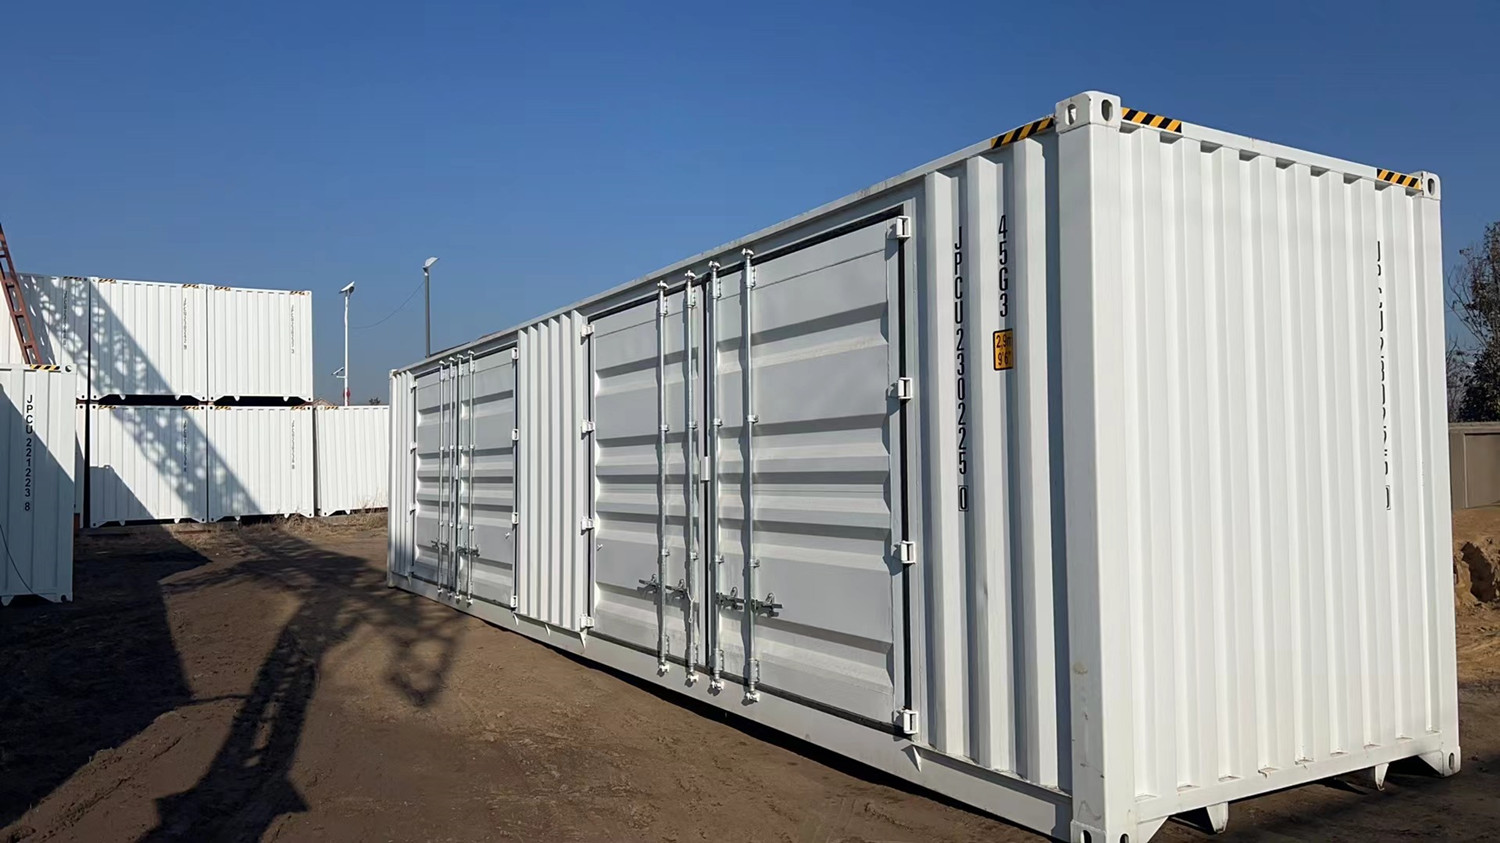
Step 2: Container Placement
Position two shipping containers in parallel, using a laser level or string line to check for alignment.
A Hiab truck, telehandler, or forklift can help with placement.
In high-wind zones, anchor the containers using bolts, concrete pads, or internal ballast blocks.
Need containers? We also supply quality containers across Australia.

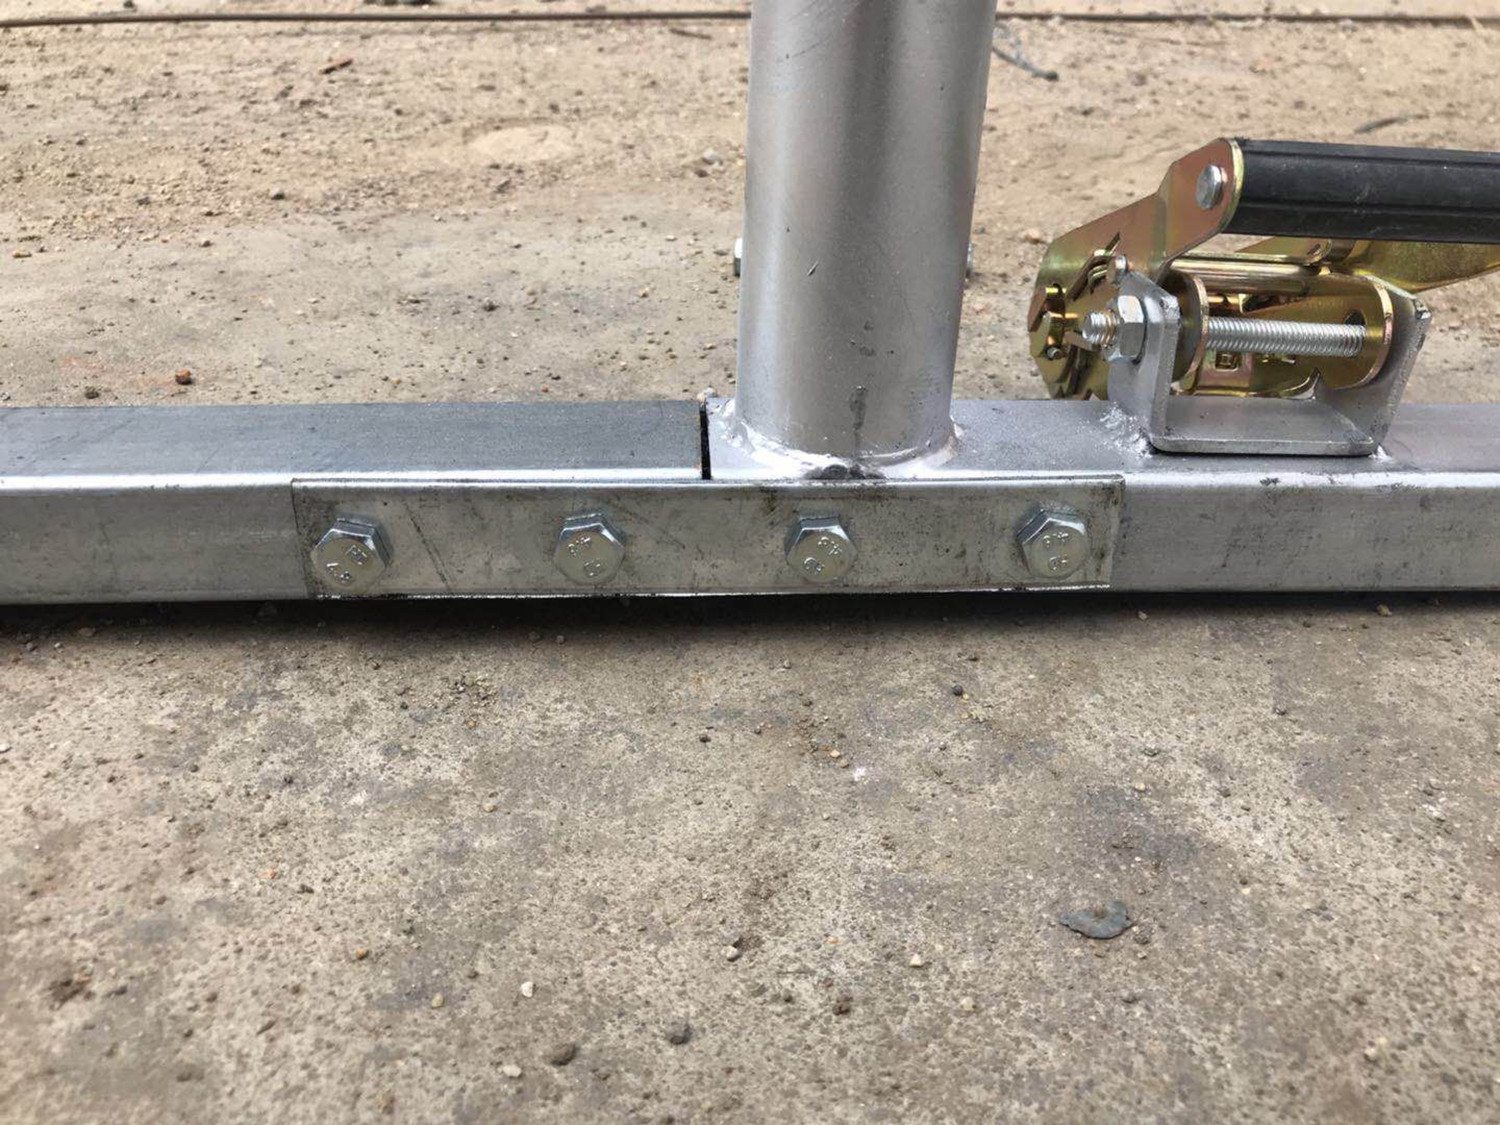
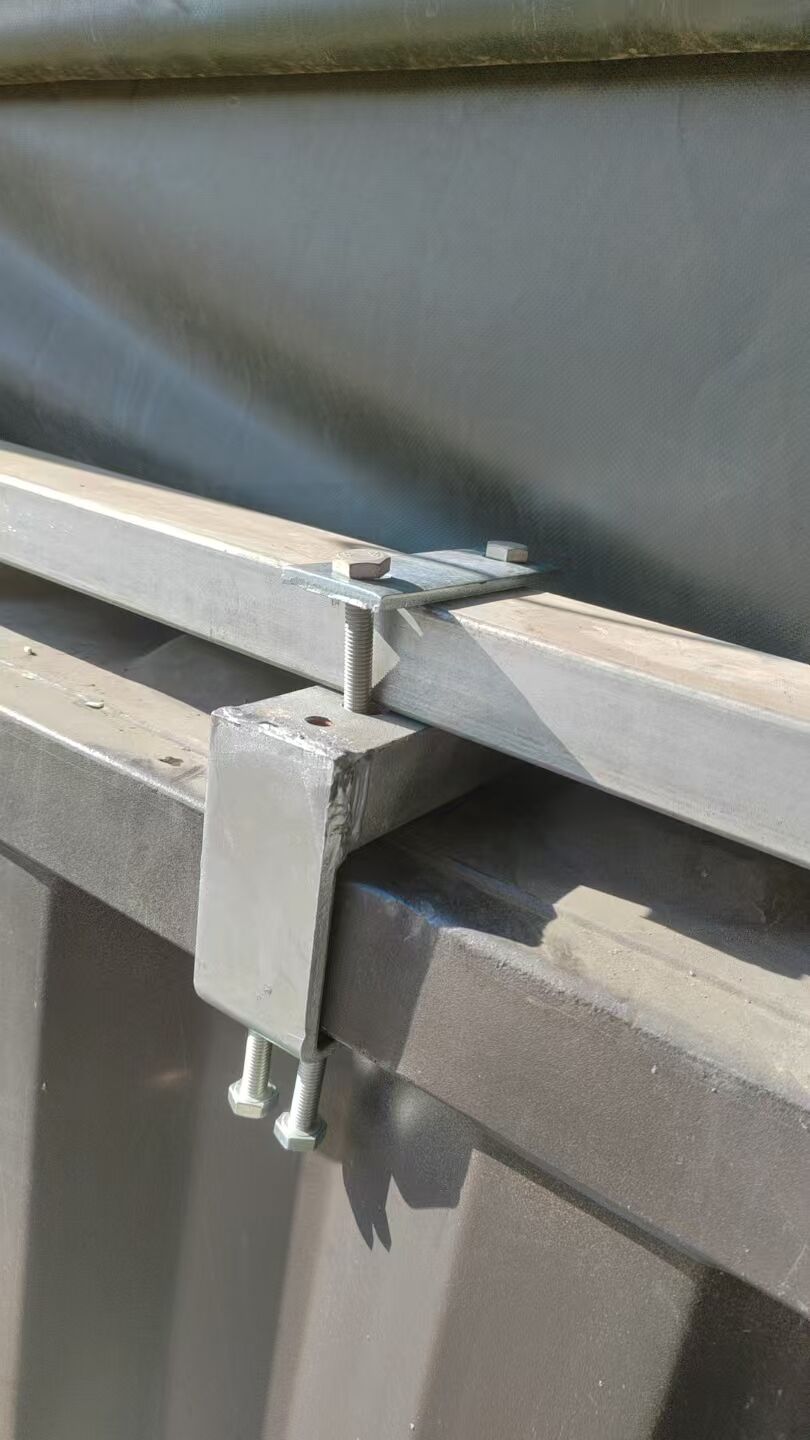
Step 3: Base Rail Installation
Pre-assemble the base rails on the ground, then mount them using our Clamp-On Bracket System —
✔ No welding
✔ No drilling
✔ Damage-free installation
This system slightly increases upfront cost but saves significant time and labour.
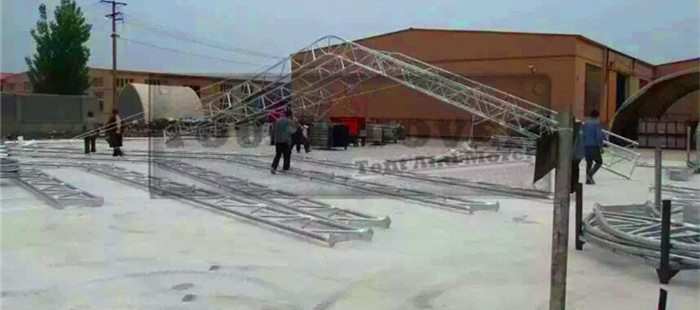
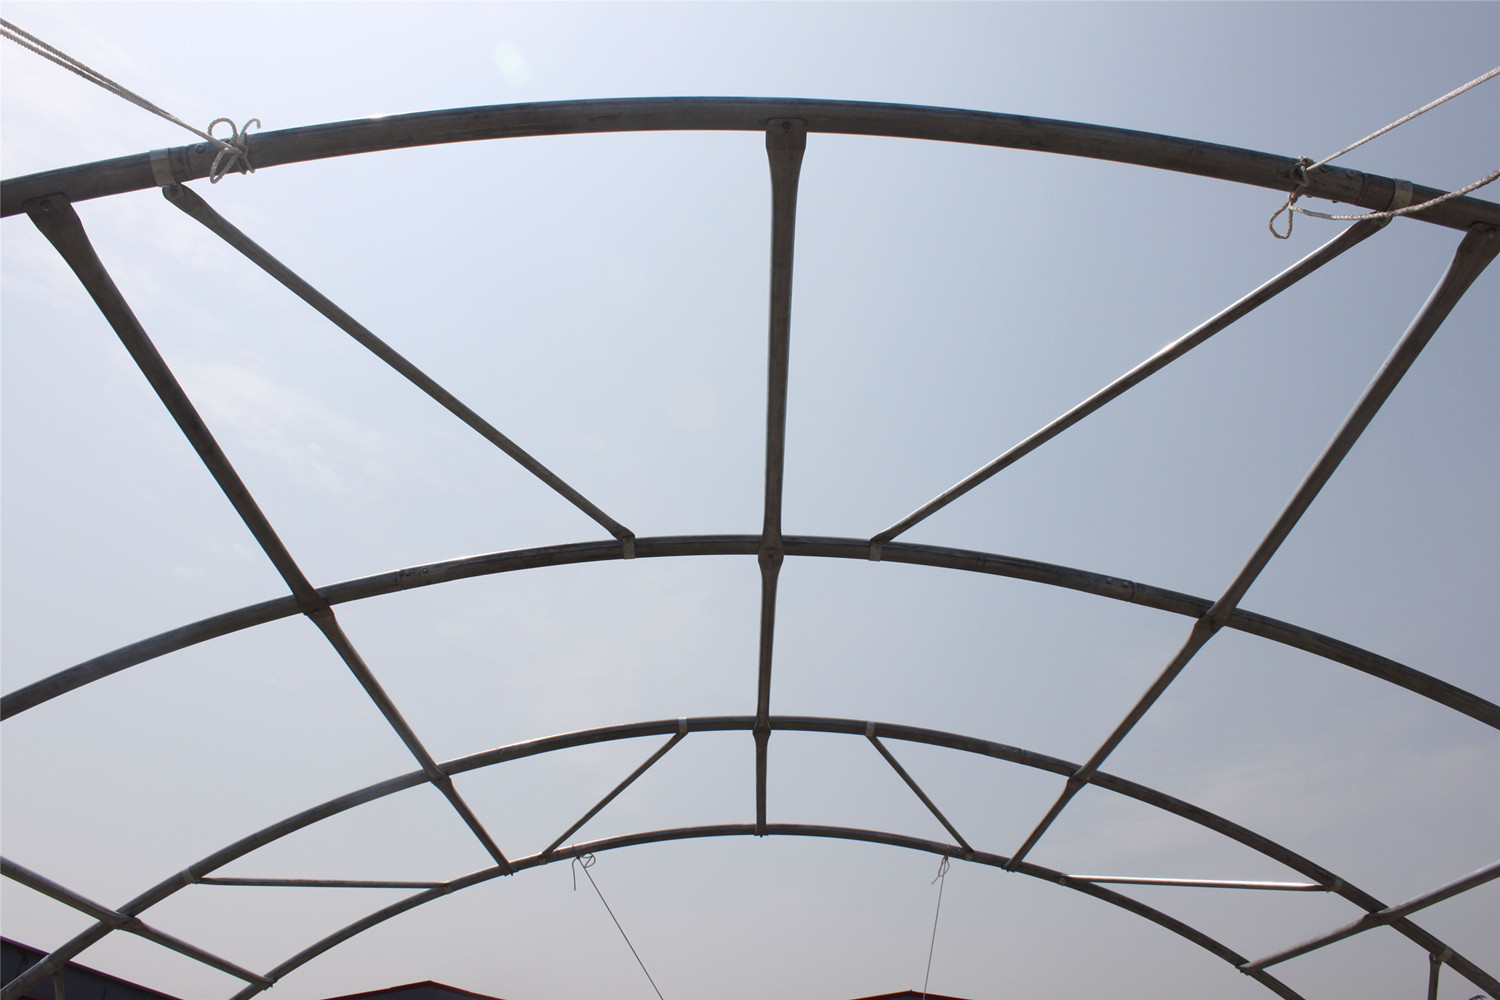
Step 4: Arch Pre-Assembly
Lay all arch components flat and bolt them together per the guide.
Do not attach them to the base rails until all are assembled.
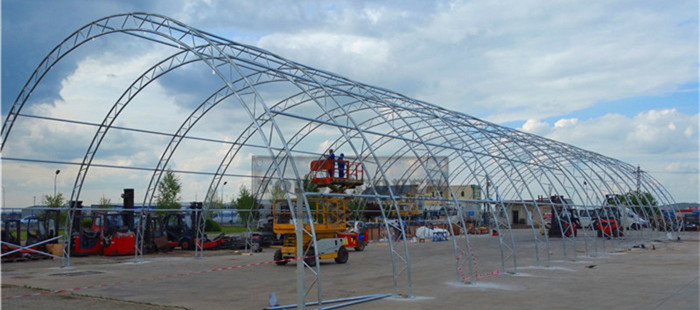
Step 5: Roof Frame Assembly
Use lifting equipment to secure the arches to the base rails.
Start with the first two, then connect purlins between them.
Continue installing arches and purlins bay by bay.
Add cross bracing for reinforcement and double-check all bolts.
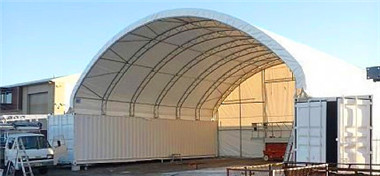
Step 6: Cover Installation
Pick a calm day with minimal wind.
Unroll the PVC cover, slide in the tensioning tube, attach ropes, and pull the cover over the roof.
Center it properly and keep the cover clean and taut.
Step 7: Tensioning the Cover
Slide in the second tensioning bar, feed straps into the ratchets, and gradually tighten the cover evenly on both sides.
Smooth out wrinkles and ensure a clean, firm finish.
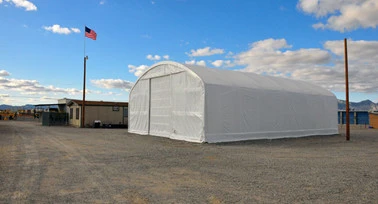
Step 8: End Panels (Optional)
Install end panels or doors if your model includes them.
Finally, inspect the entire structure:
✔ All bolts and joints tight
✔ Cover tensioned evenly
✔ Proper fit throughout
Need Help? We’ve Got Your Back
Every Toughcover shelter comes with a detailed instruction manual. But if you get stuck, our team is just a message away.
As we expand into Australia, we look forward to offering even more local support, faster delivery, and better access to our tough-built shelter solutions.
Visit our Australia site: www.toughcover.com.au
Browse our models: All Container Shelters →